First Look at Swift Playgrounds
Version 6.0 is a great update to the Xcode IDE and while most of the new features are not programming language specific, there is one big new addition that is Swift only - Playgrounds. When I first saw Chris Lattner demonstrate how playgrounds work at the WWDC opening keynote, it reminded me of a similar demo of an HTML5 Canvas auto updating editor I watched a few years back. I never imagined such concept will someday make its way to Xcode, but boy was I wrong?! Here it is!
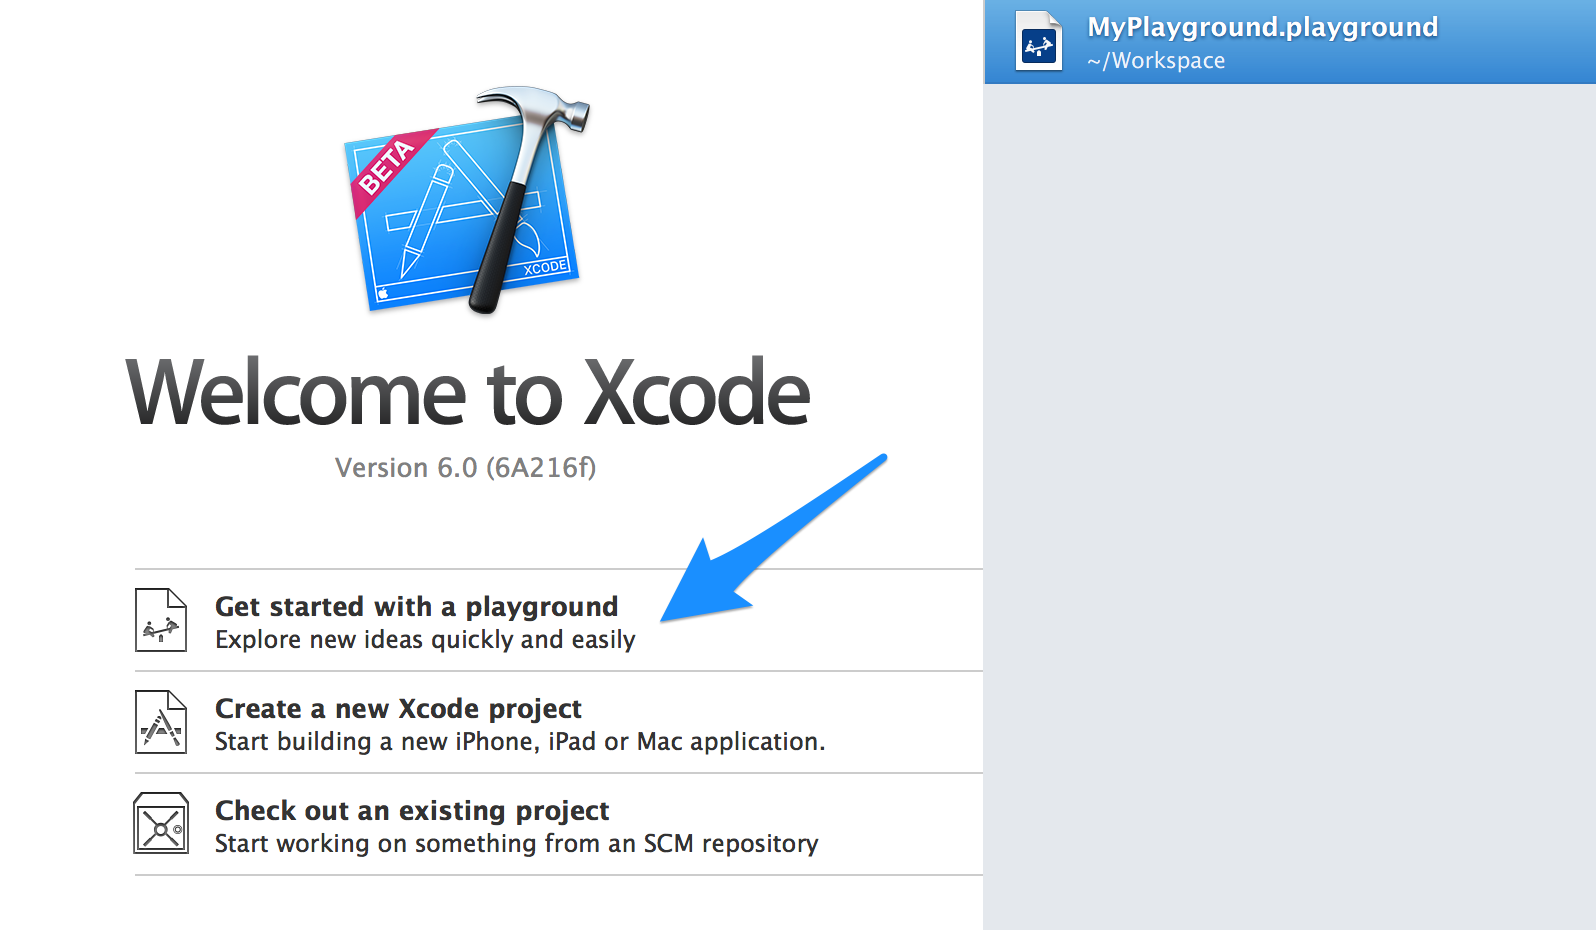
Get started with a Playground

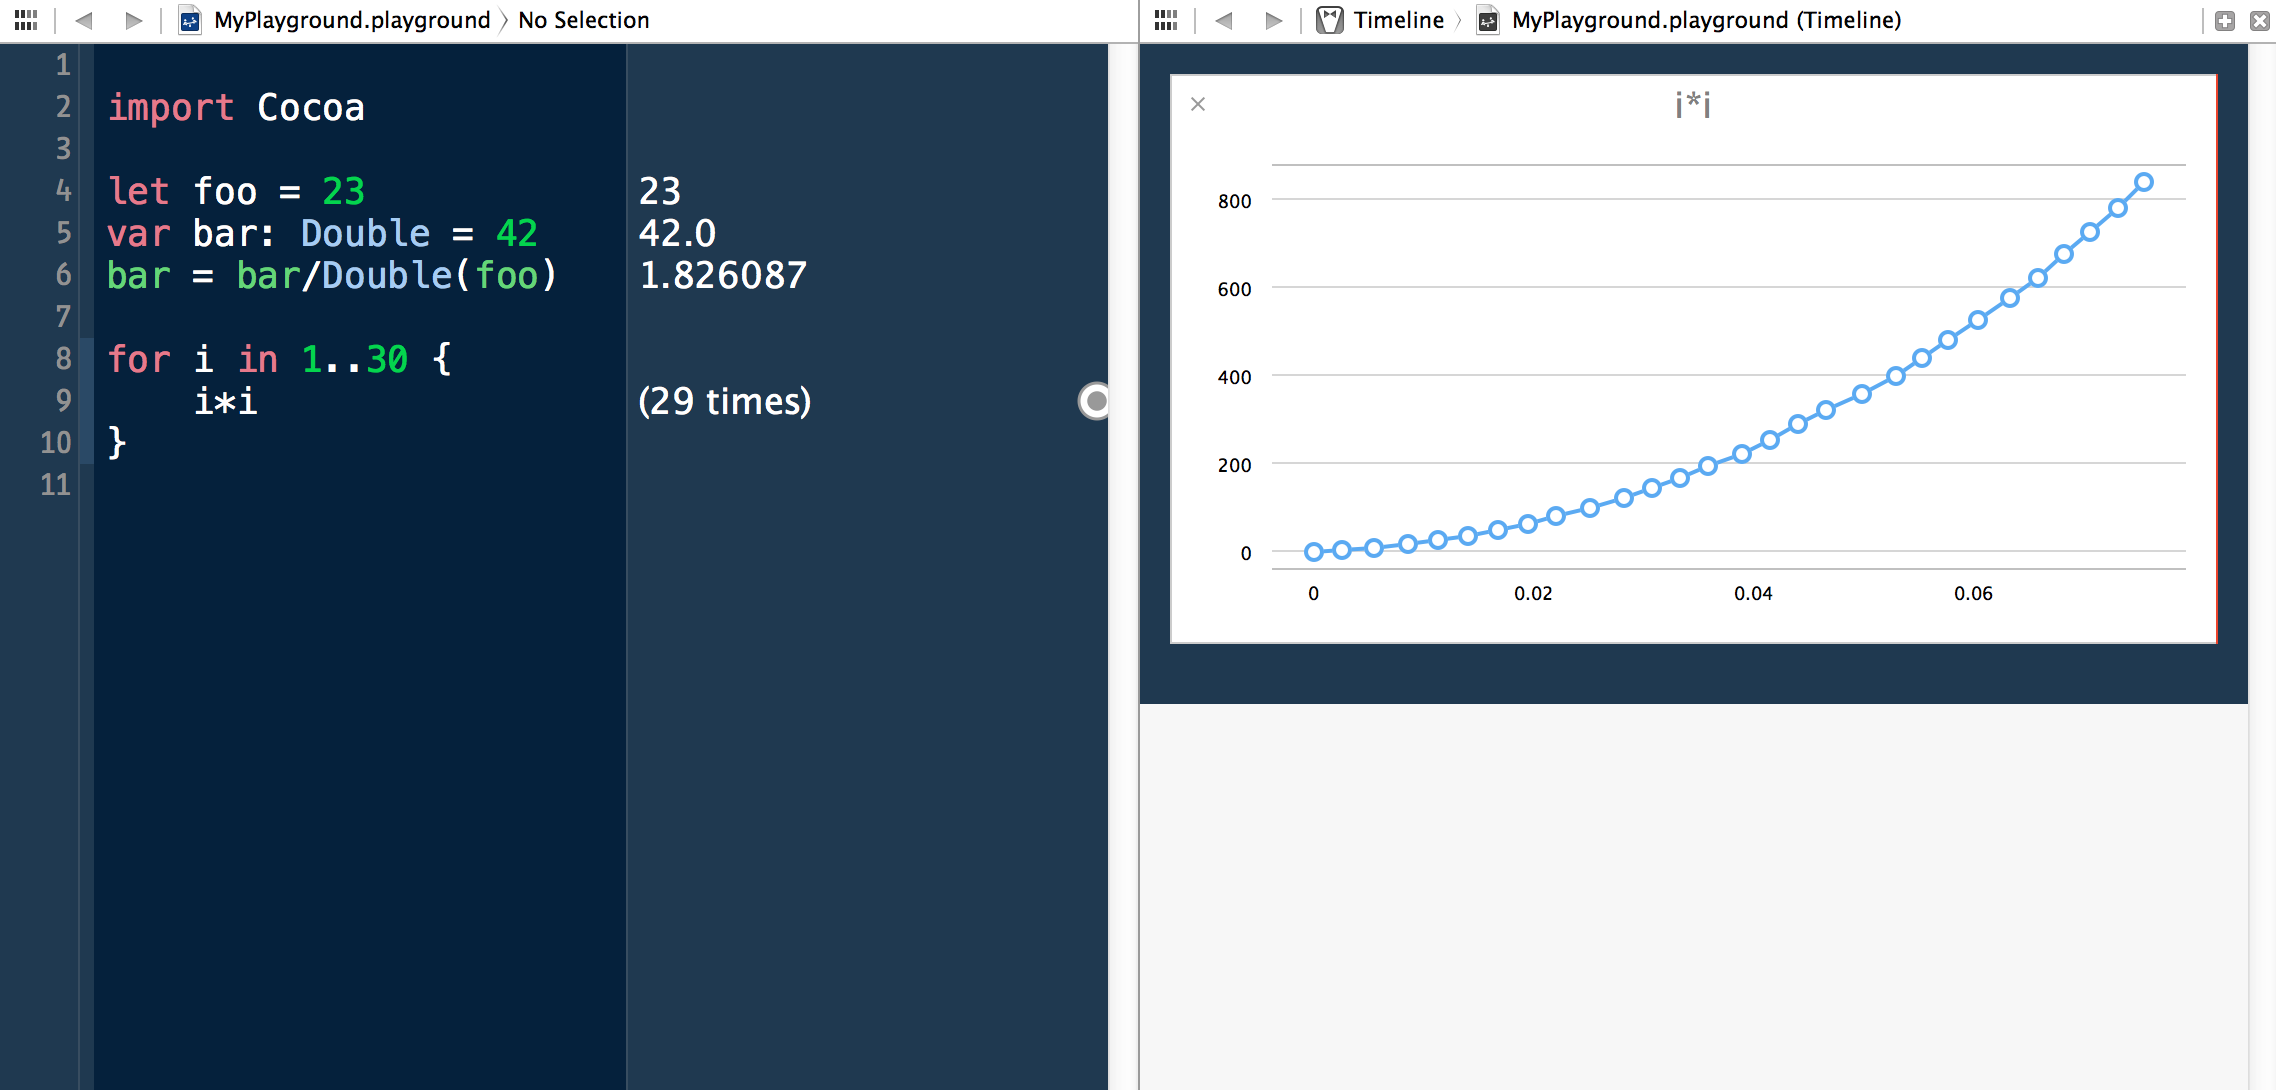
A single playground is actually a file wrapper that consists of a Swift source code file, embedded resources and some configuration info. You can choose to access resources that have an absolute or relative path to the playground and even put them inside of it. This makes it convenient to share playgrounds as a sort of packaged mini project. The Assistant Editor has always been a very useful tool in Xcode and now it has become a major part of how you use playgrounds. It takes care of visualizing the output of your code by drawing graphs, Bézier paths, images and other.

Swift playgrounds take full advantage of Quick Look. Here is a list of things you can preview:
- Colors
- Strings
- Images
- Views
- Arrays and Dictionaries
- Points, Rects and Sizes
- Bézier paths
- URLs (with the help of a WebView)
- Objects (classes and structs) You can also extend this functionality using a new framework called XCPlayground. I haven’t had the time to try it out yet, but I plan to write a XCPlayground Tutorial in the near future.
All Play and no Work?
It is clear where the Swift Playground got its name. It is the best way to play around with Swift and explore its features, but does it have a place in the everyday workflow of a developer? Sure it does. I bet many of you have gone trough the steps of creating a whole new iOS or OS X project, just to experiment with a particular API. A playground is now a much more practical way to do that. I have also used a new project as a place for custom view development. Again, this can now be done in a playground. With the powerful visualization features of Quick Look and the Assistant Editor, Swift playgrounds are a great tool for algorithm development as well. And finally, these tools can be used not only for learning, but for teaching as well. A playground will be and ideal environment for a live demo presentation or a pair-programming session.
Limitations
All of this practicality does come with some limitations. Here is the list:
- Playgrounds are not useful for performance testing. Since the runtime is dominated by the actual logging and visualization, performance depends on the lines of code and this is not the case in a real app.
- No user interaction. The Assistant Editor is great if you want to see how a UI component will look, but it is not enabled.
- No execution on the device. While a playground is a tool for experimenting and fast prototyping, you cannot run it on your iOS device.
- You cannot use 3rd party frameworks. This is actually a big deal. However, I think this could change in a year or two. In the mean time, you can still import your code by copy-pasting it in the editor.
Some of these limitations do not apply to the Swift REPL. Expect a post on that topic in the coming weeks.
Game On!
The Apple engineers showed some nice uses of Playgrounds at WWDC. However, I think that in the following months, the developer community will be the one to come up with the coolest uses of this new technology. I can’t wait to see what people do with it. Give me a heads up on Twitter if you see a clever use of a playground or if you just want to say ‘Hi’.